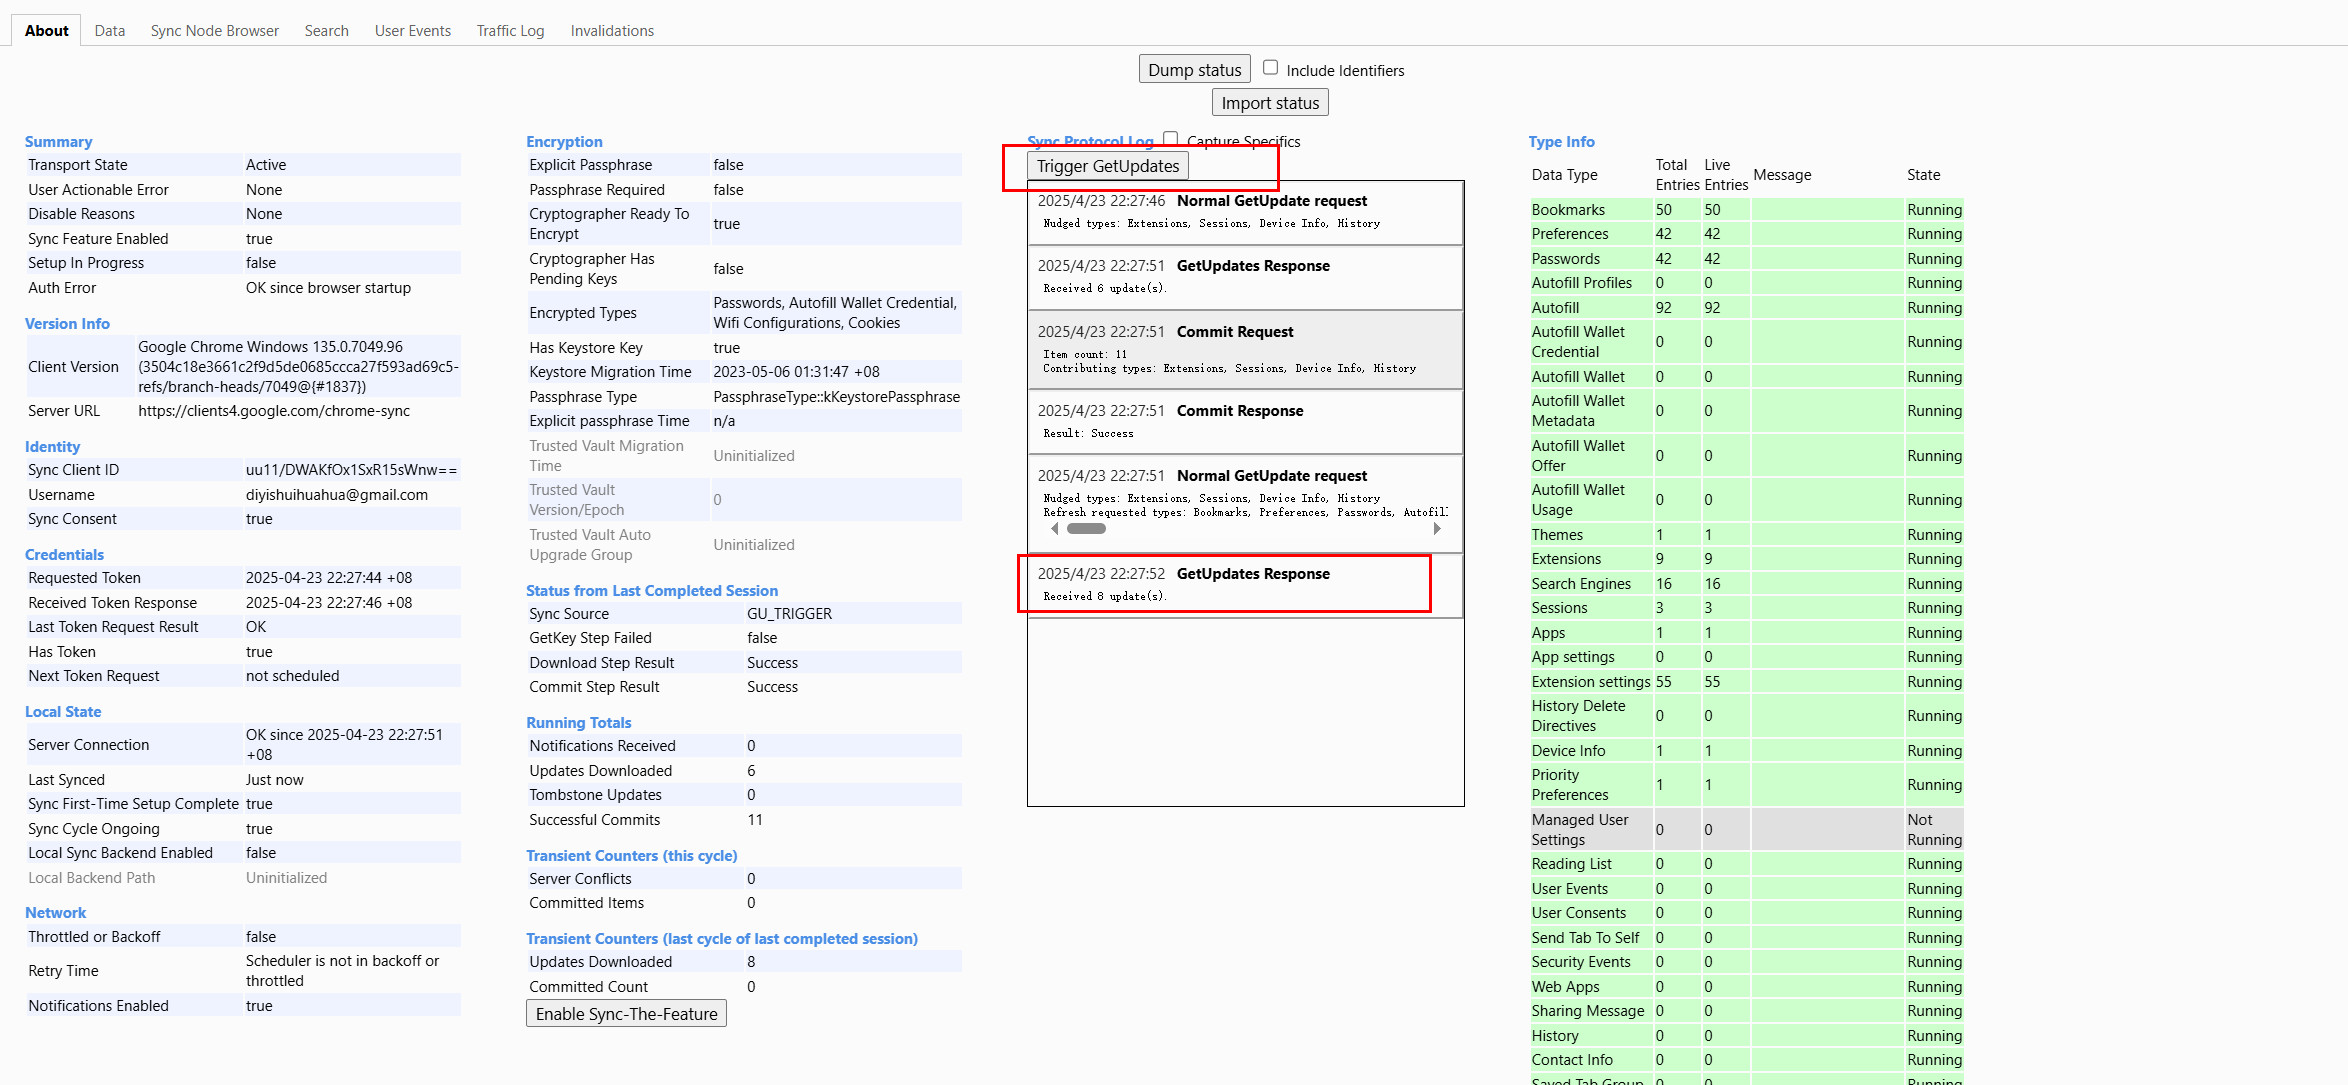
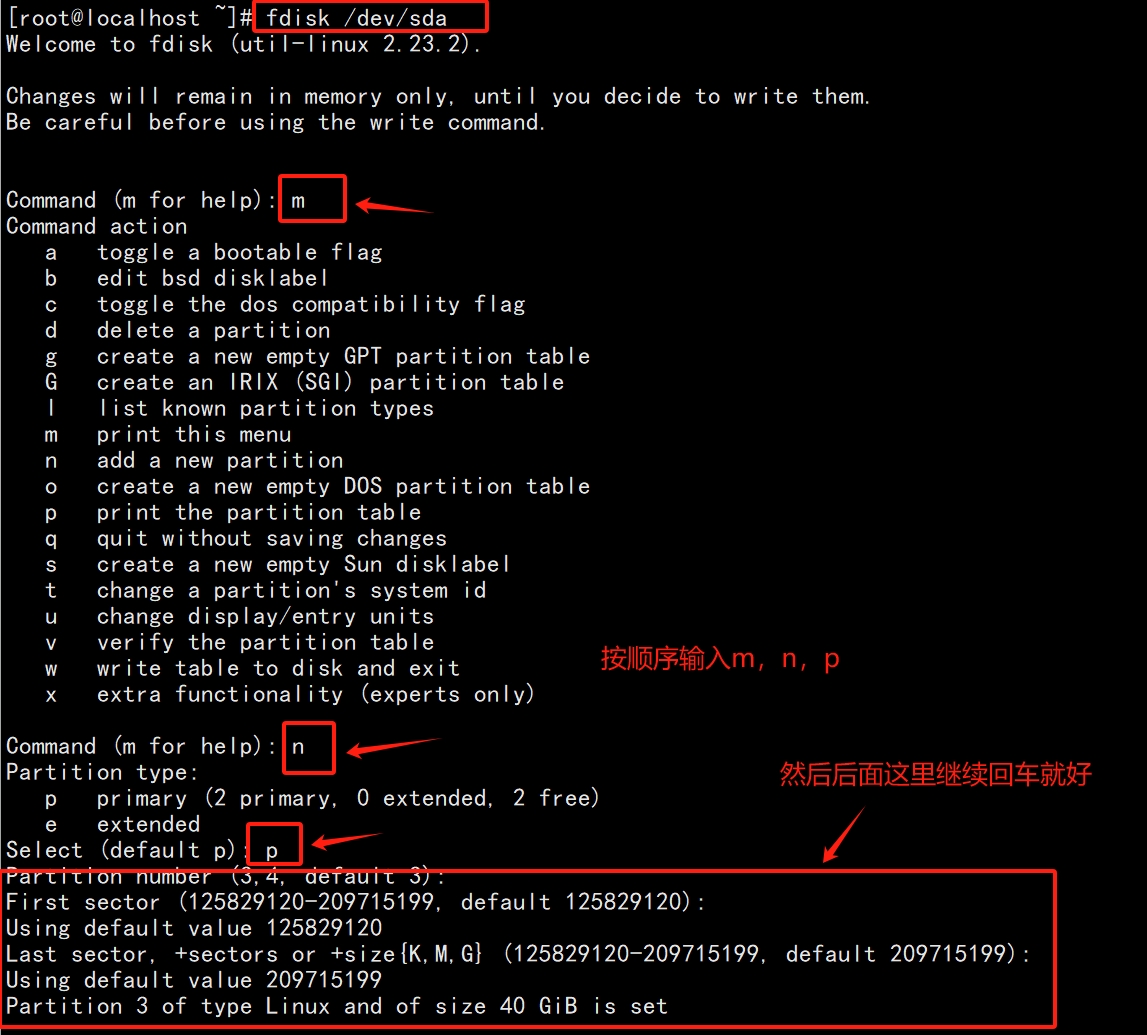
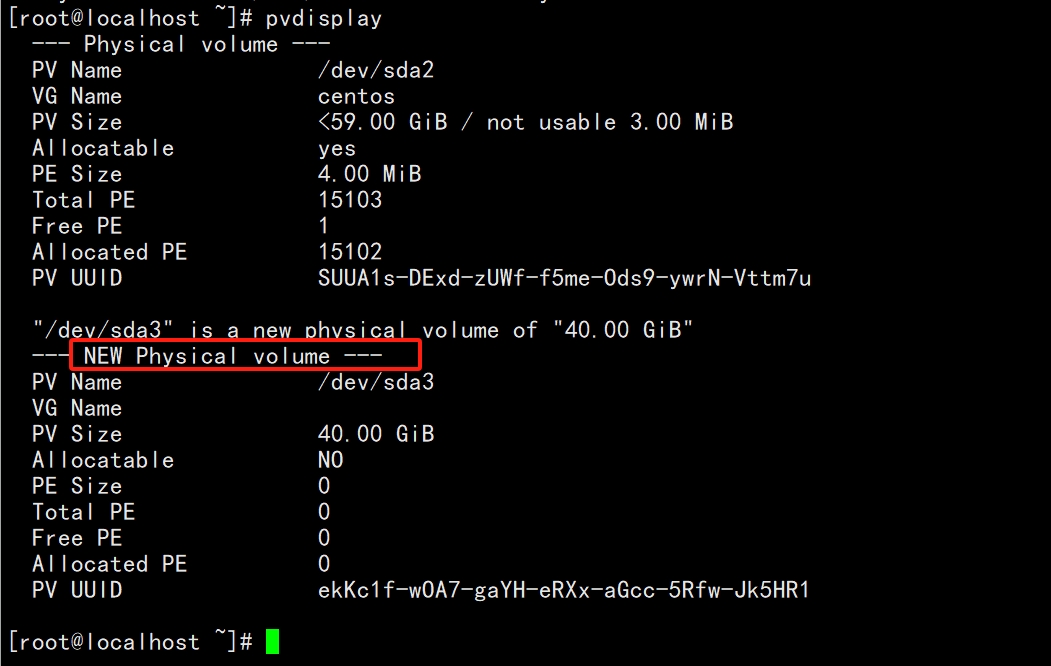
[root@user ~]# ip route default via 172.16.34.1 dev eth0 proto dhcp metric 100 172.16.34.0/24 dev eth0 proto kernel scope link src 172.16.34.128 metric 100 192.168.1.0/24 dev wlan0 proto kernel scope link src 192.168.1.220 metric 101
会显示当前网络default 默认走的路由。
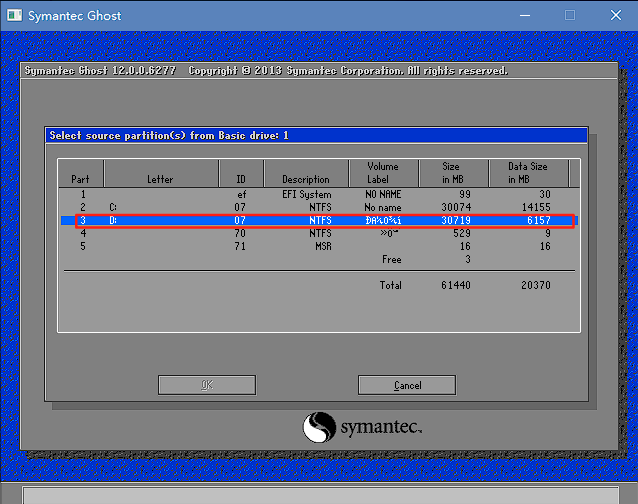
配置路由
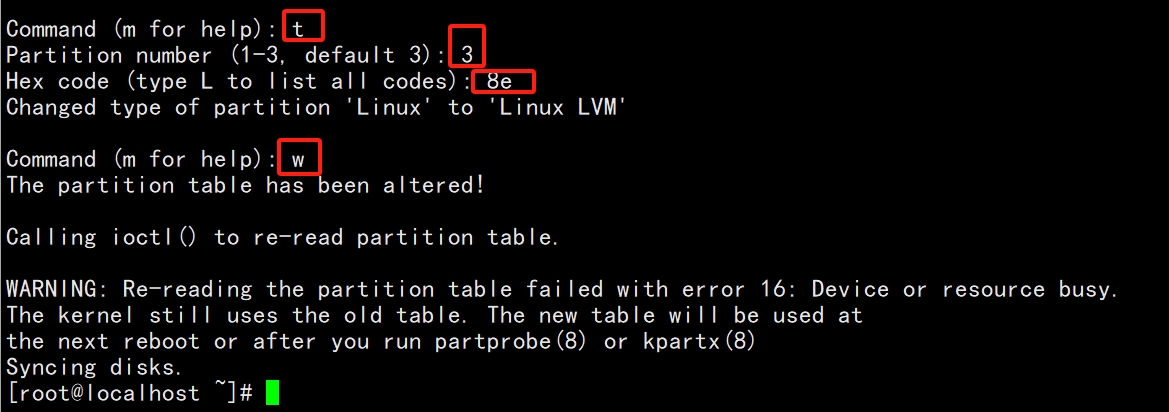
删除默认路由
1
sudo ip route del default via 172.16.34.1 dev eth0
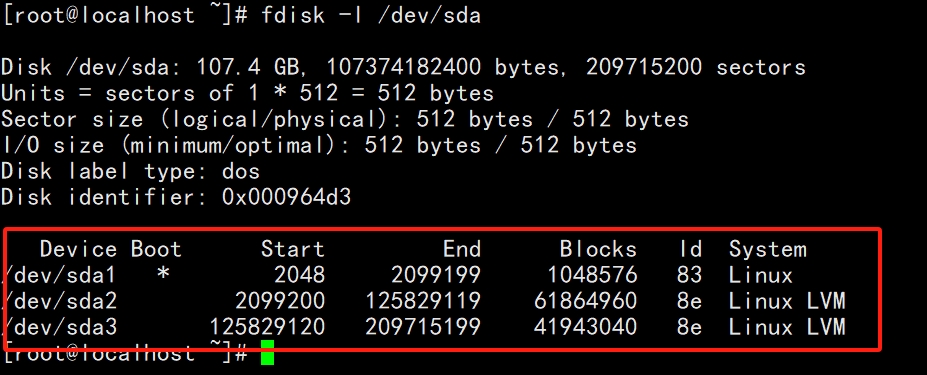
手动配置路由
1
2
sudo ip route add default via 192.168.1.1 dev wlan0
sudo ip route add 172.16.0.0/16 via 172.16.34.1 dev eth0
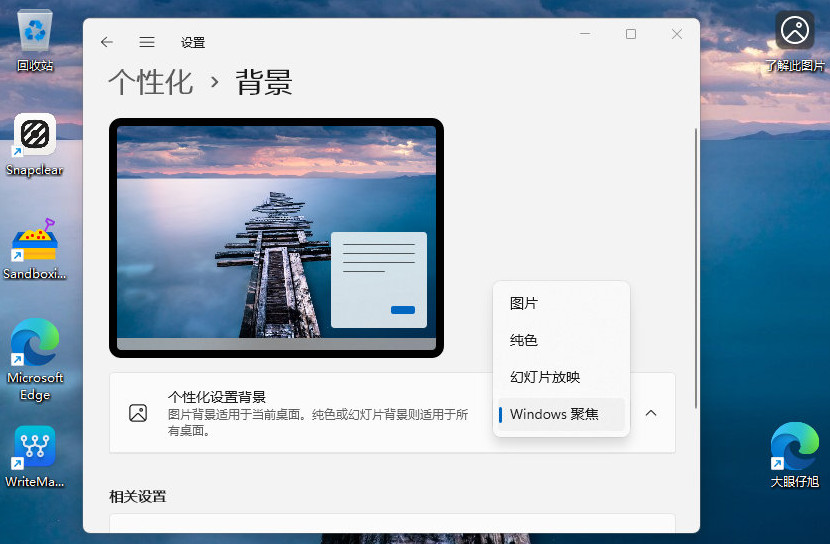
Windows 聚集(Windows Spotlight)功能为您的桌面带来了令人惊叹的背景图片,这些图片不仅美观,还常常让人眼前一亮。然而,随着这些绚丽背景而来的“了解此图片”图标有时可能会分散您的注意力,影响您对桌面的整体视觉体验。遗憾的是,直接通过右键菜单删除这个图标并不是一个可行的选择,因为这只会打开更多的选项菜单而不是真正移除它。