ztncui私有化zerotier来创建moon
简介
zerotier one是众多内网穿透工具平衡性最好的。方便速度快部署简单的比他贵的多,速度比他快比他便宜的部署麻烦,比他便宜部署容易的使用体验又不好。
不过zerotier one的虚拟网络是由官方控制器控制的,虚拟内网被别人控制总感觉不会不舒服。好在zerotier是开源的,因此zerotier有脱离官方控制器的第三方控制器
ztncui是zerotier one众多开源第三方控制器中的一个,之所以选它是因为它是唯一一个拥有图形界面的。通过配置客户端的planet就可以跳过官方节点,使用ztncui完成各个节点之间的通讯和打洞。
优点
- 官方的节点通道(Planet服务器)是在国外,一般延迟都在四五百ms左右,使用ztncui搭建的zerotier one不走官方节点的通道,走的是用自己公网服务器搭建的节点通道,延迟较低
- 官方编译的Zerotier搭建的moon服务器不能在Android设备上使用,而私有化搭建的moon服务器则能在Android端(需要配合Zerotier FIX来)使用
- 相比于用FRP部署的内网穿透,zerotier使用简单,且不像FRP让服务器在公网被来回扫,安全性较高。
FRP部署内网穿透—->可看这篇文章《自建内网穿透服务器》
准备工作
Zerotier不支持以域名方式和控制器通讯,所以你需要准备一个具有固定公网ip的云服务器,最好同时具备固定ipv6。
对于android设备,需要使用kaaass大神的Zerotier FIX才可以使用自定义控制器和自定义moon服务器,IOS设备无解。
云服务器
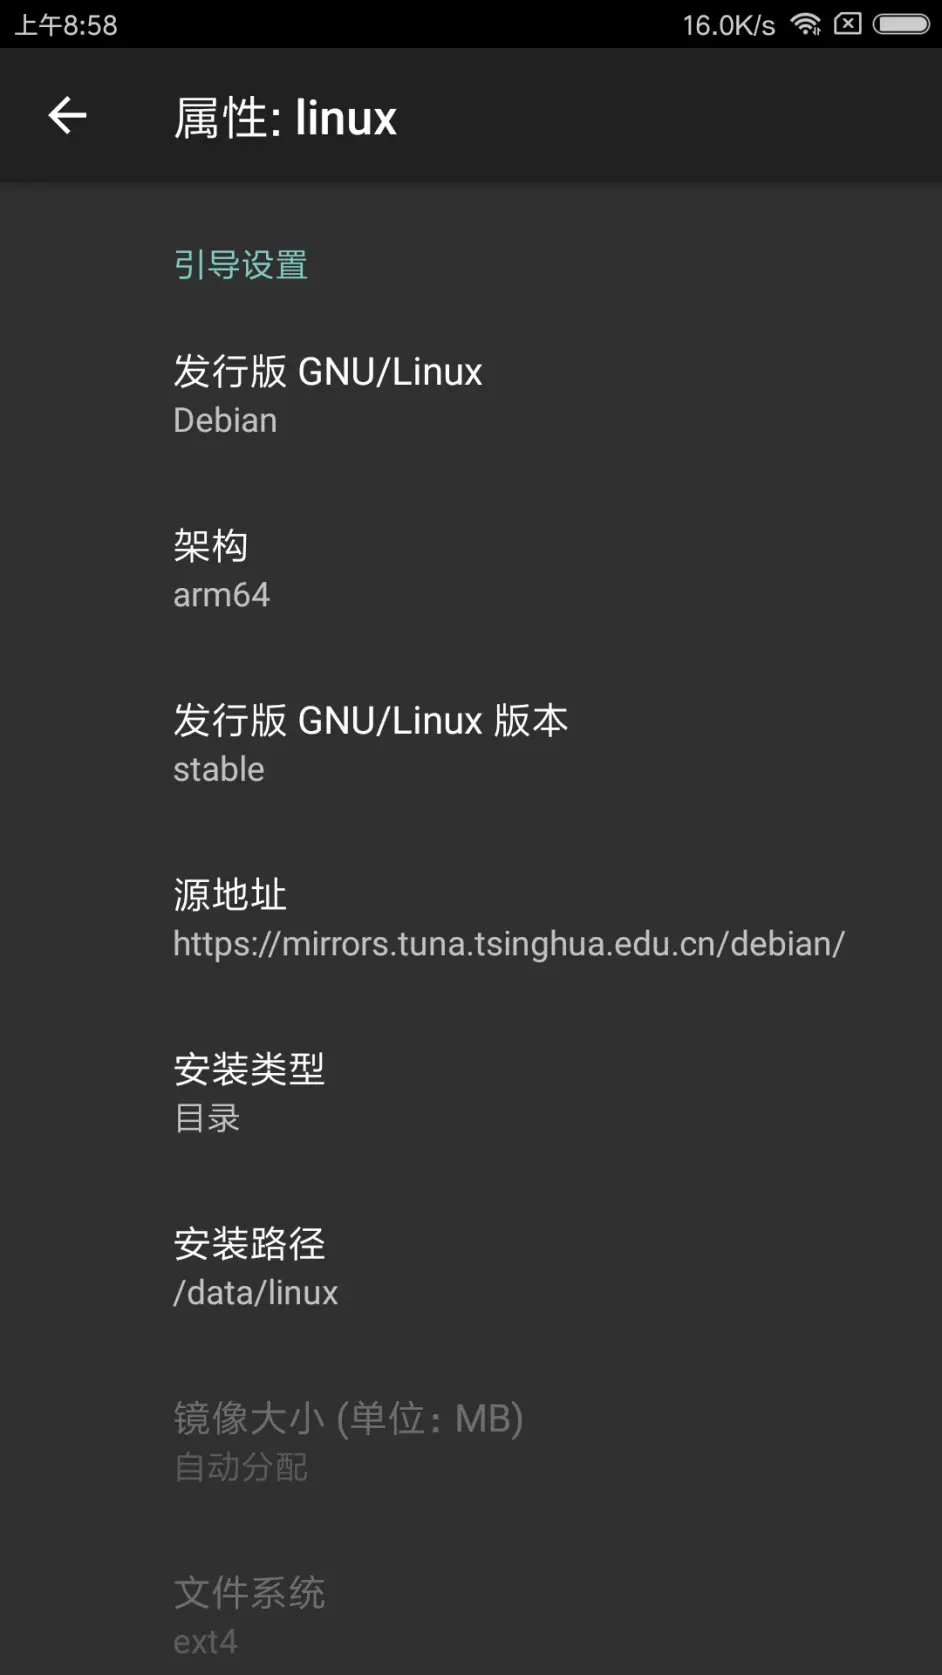
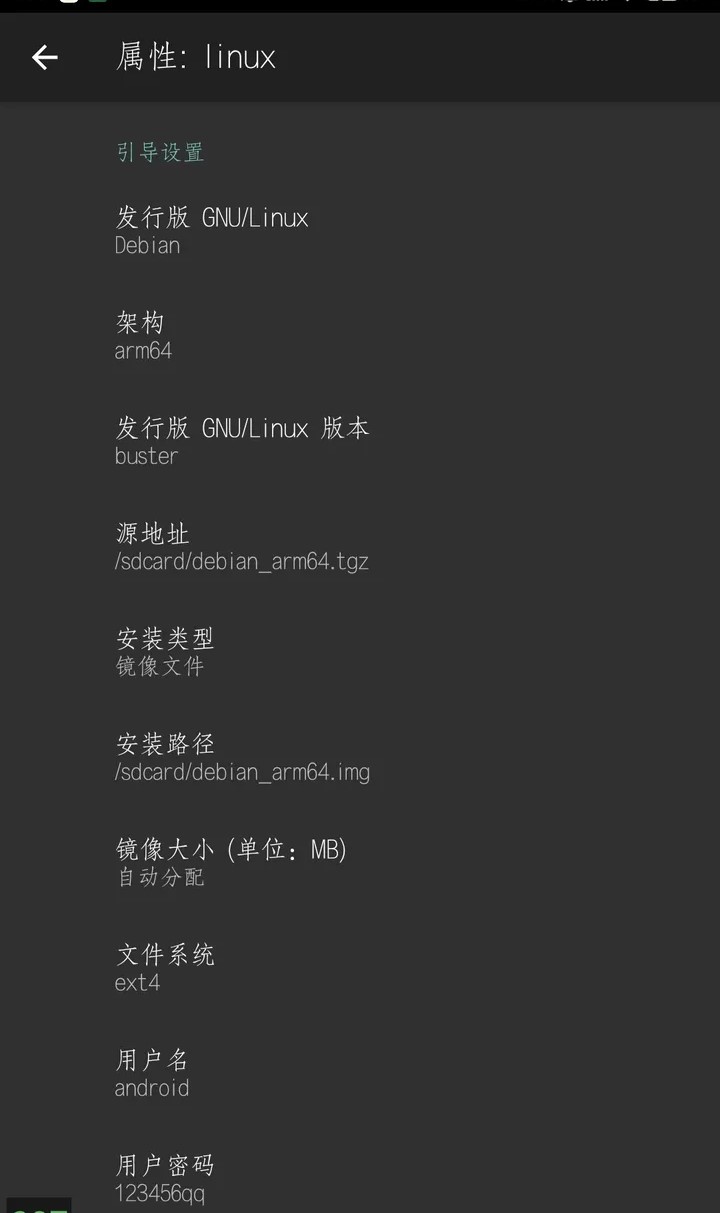
我这里用的阿里云领的7个月ECS,系统是debian11,,带宽是1Mbps(到后面用搭建的moon,Android端用数据延迟能到一百左右,理论上带宽比我这个大的延迟会更低),没有申请SSL证书
Debian默认ssh不能root连接,首先在你买服务器的官网的控制台用他们自带的远程连接先连进去,编辑ssh配置文件vim /etc/ssh/sshd_config 添加一个参数:PermitRootLogin yes,这样ssh就能用root连接了
1 | vim /etc/ssh/sshd_config |
配置安全组(无SSL证书)
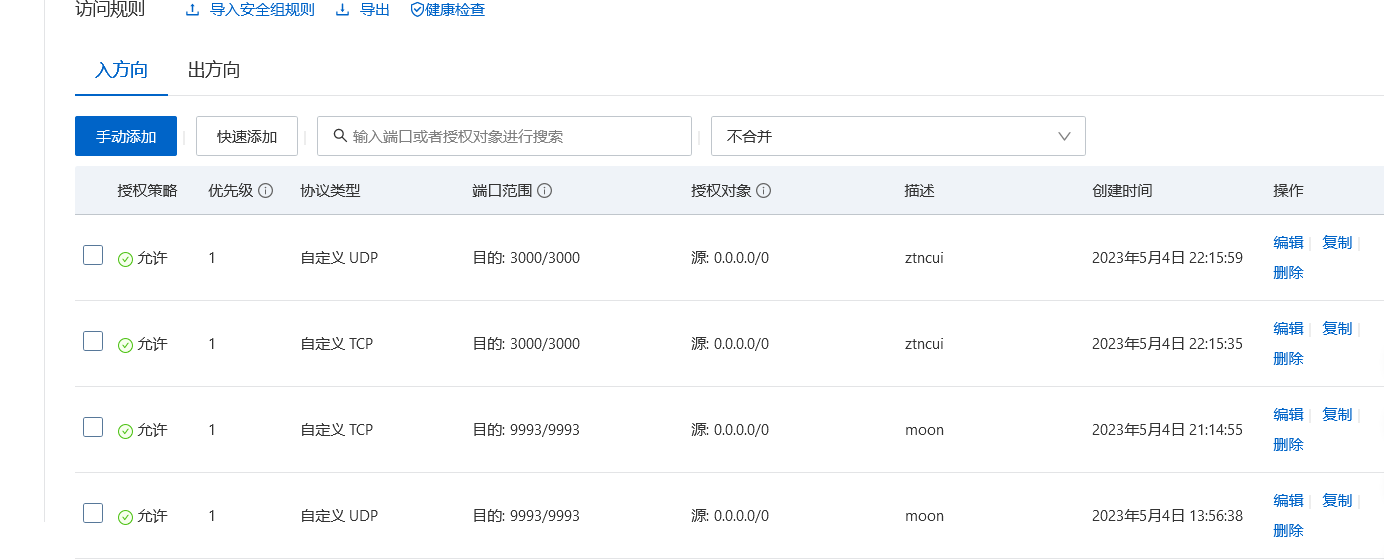
配置安全组(有SSL证书)
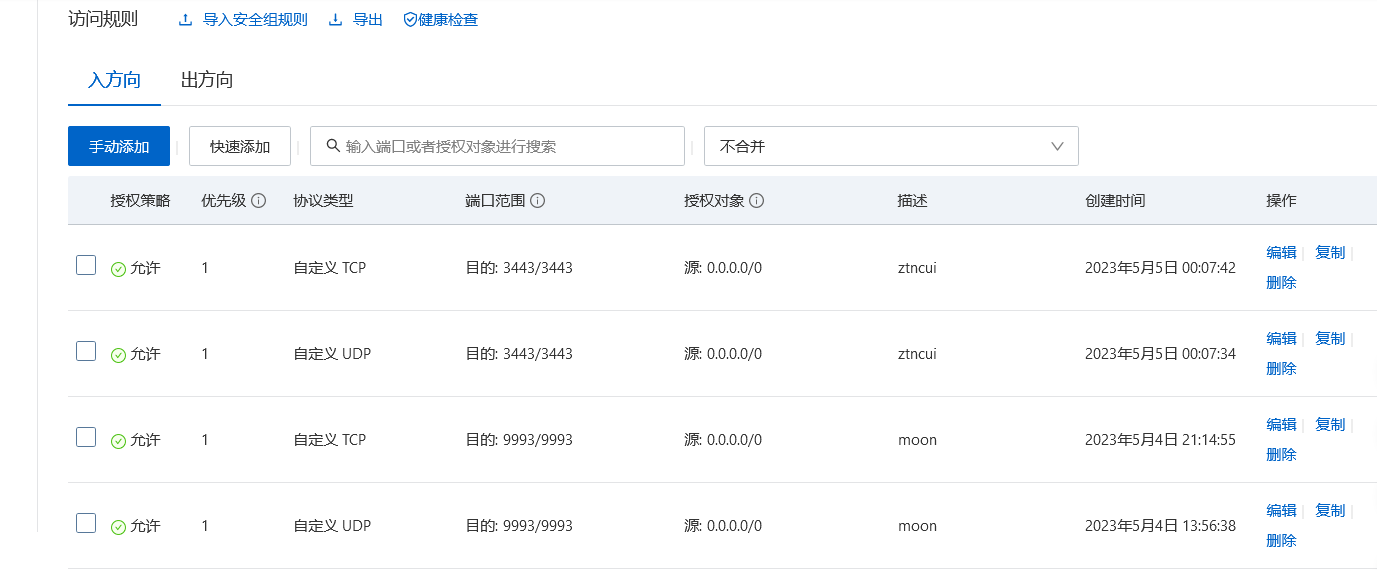
3000端口和3443端口为ztncui Web控制面板使用的端口
3000是http的,3443是https的
TCP:9993端口为Zerotier节点与控制器通讯的端口
UDP:9993端口为MOON节点与控制器通讯的中继端口
端口可自行选择,根据自己选择的端口配置安全组
Server端
Zerotier安装
1 | #ztncui依赖于zerotier,所以需要先安装zerotier |
ztncui安装
centos redhat系列下载, root权限执行
1 | root@centos:~# wget https://gitee.com/opopop880/zerotier_planet/raw/master/zertotier_planet.sh && chmod +x zertotier_planet.sh && ./zertotier_planet.sh |
debain ubuntu 系列下载 root权限执行
1 | root@Debian:~# wget https://gitee.com/opopop880/zerotier_planet/raw/master/zerotier_planet_debain.sh && chmod +x zerotier_planet_debain.sh && ./zerotier_planet_debain.sh |
我执行完 ./zerotier_planet_debain.sh这个脚本后,编译安装时会失败,缺少依赖库”fatal error: nlohmann/json.hpp : No such file or directory”
#include “nlohmann/json.hpp安装依赖
在执行一次脚本
配置moon服务器
1 | #进入zerotier one文件夹 |
配置ztncui
1 | #查看ZT_TOKEN值并复制 |
!!!注意!!!,要配置Android端的Zerotier,需要用到world.bin文件,所以要先备份一份,一起把world.bin文件和000000XXXXX.moon打包文件发到桌面
1 | # 令planet文件生效 |
重启完zerotier-one服务moon服务器就已经生效了
备份moon文件
将生成的000000XXXXX.moon文件打包,留着准备发给各个zerotier one客户端
这里我用windows上的xshell连的服务器,上传和下载文件可能比较麻烦,用finalshell和filezilla传文件方便(我有,但不习惯用,还是习惯用xshell)
1 | root@Debian:~# apt install lrzsz -y |
ztncui管理界面配置
访问http://你的公网IP:3000
登录用户名:admin
默认密码: password
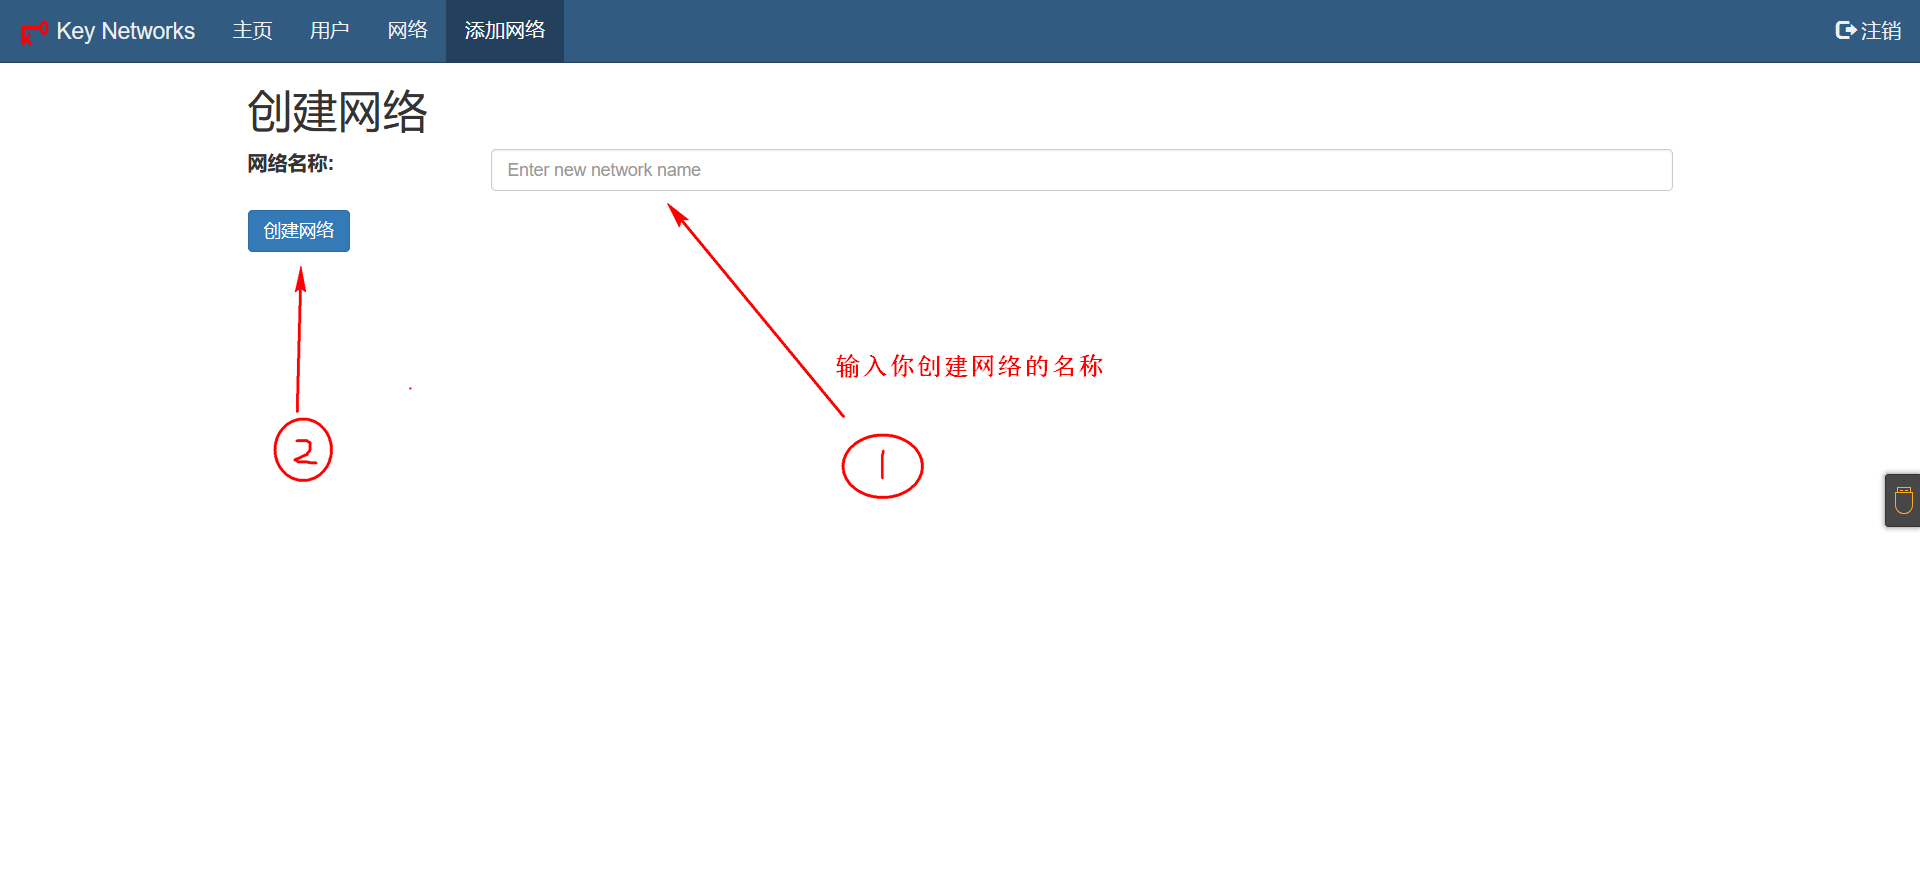
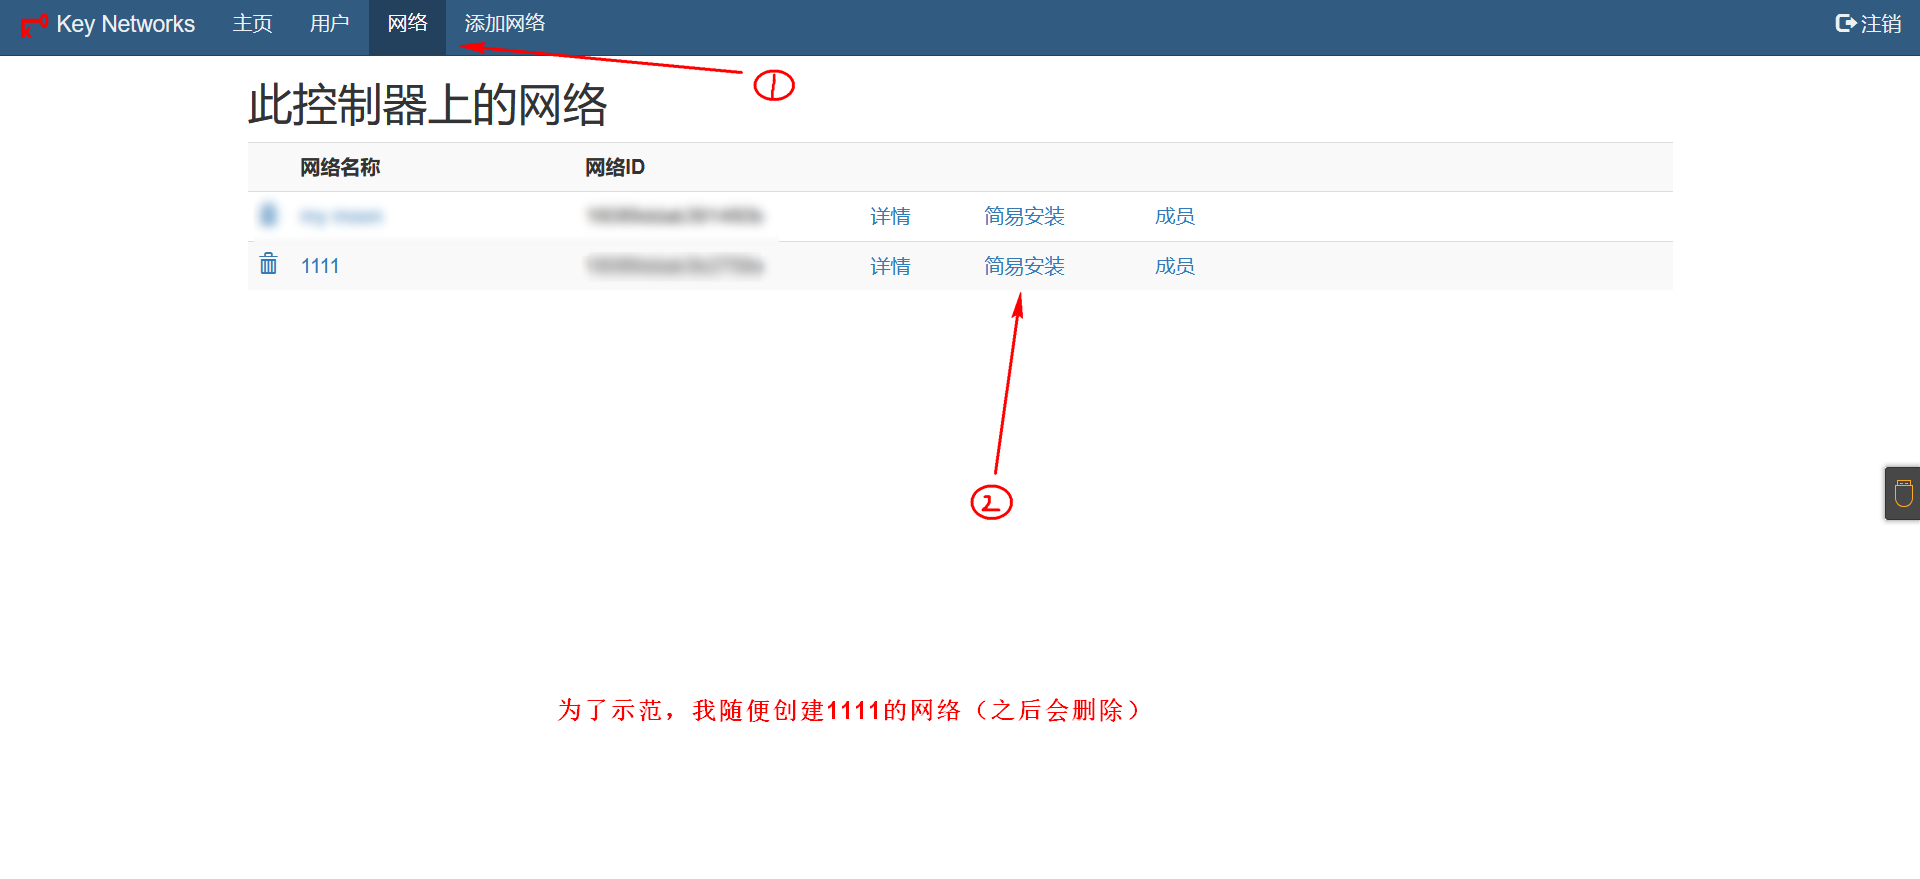
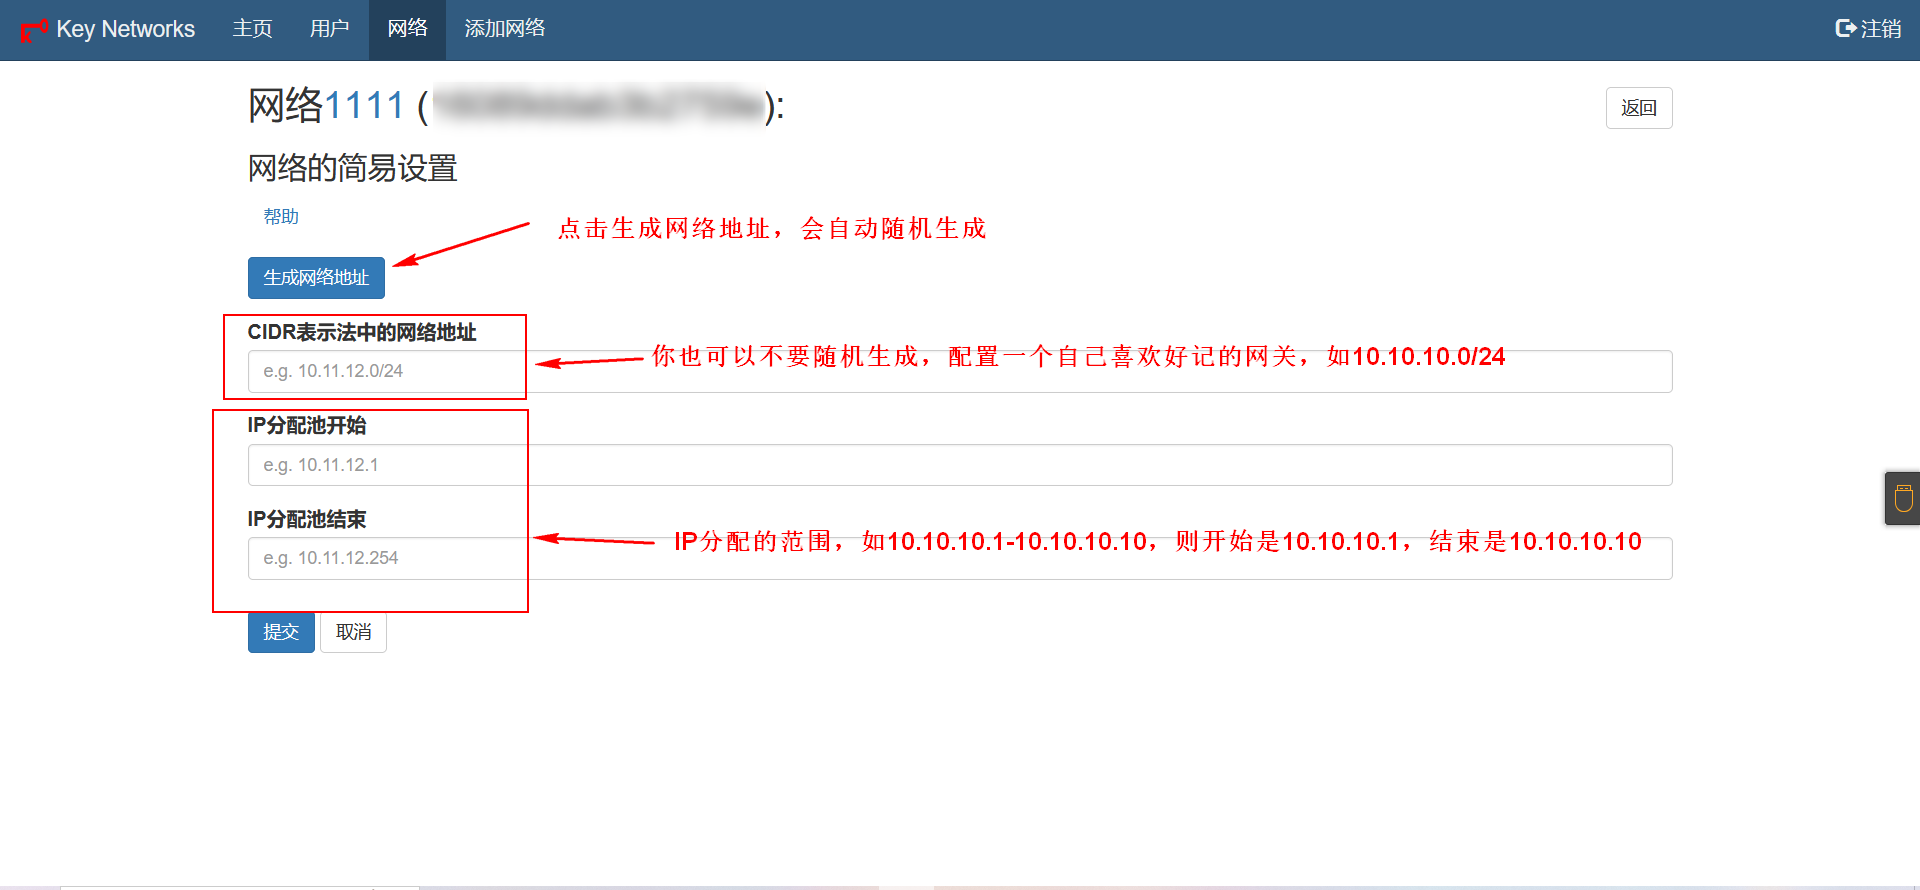
添加网络
配置网络
Client端
Linux的client端
同样安装Zerotier
1 | root@orangepi5:~# curl -s https://install.zerotier.com | sudo bash |
将打包好的moon服务器放进Zerotier目录下
1 | root@orangepi5:~# cd /var/lib/zerotier-one |
配置完moon服务器后重启Zerotier
1 | root@orangepi5:~# systemctl restart zerotier-one |
加入网络
1 | #加入在ztncui上的网络 |
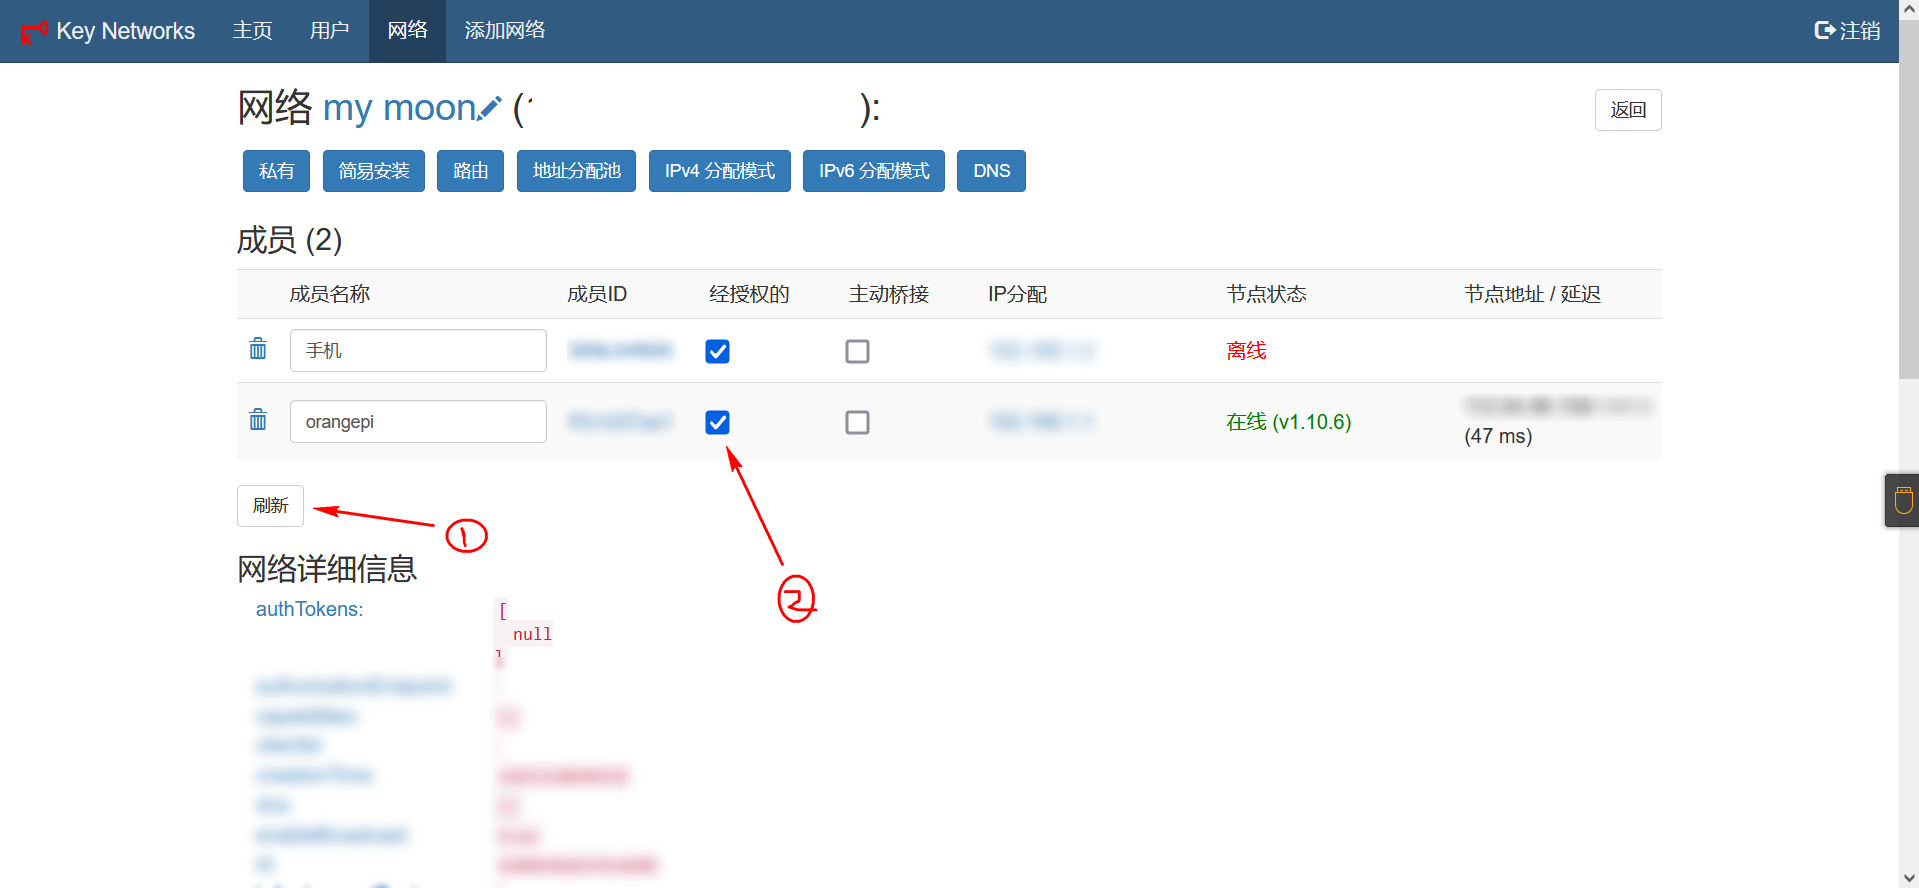
在ztncui管理界面允许加入
列出网络
1 | root@orangepi5:~# zerotier-cli listnetworks |
查看moon服务器
1 | root@orangepi5:~# zerotier-cli listpeers |
列出的moon节点出现自己配置的公网IP则moon服务器已配置成功
Android的client端
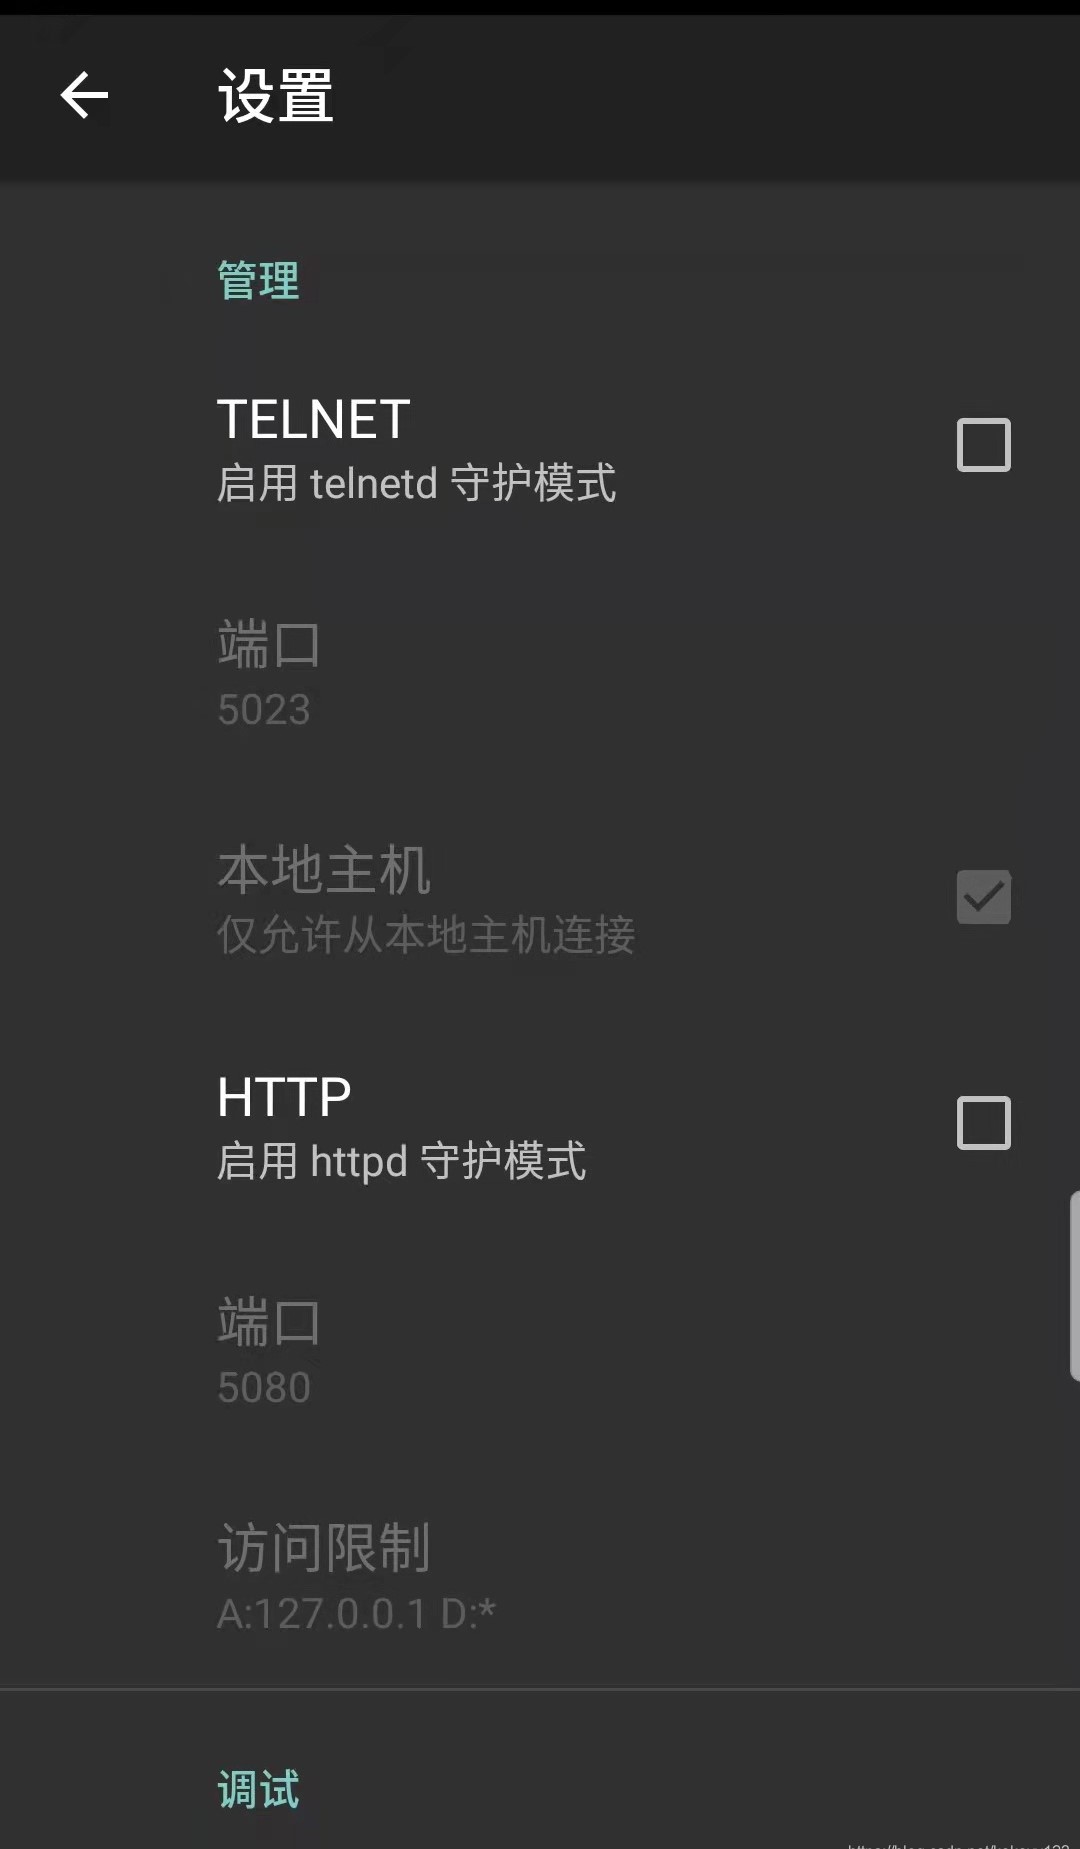
先安装Zerotier FIX,然后打开Zerotier FIX,点+号先加入Network ID
将服务器上的world.bin和000000XXXXX.moon文件下载到本地,将world.bin更名为palnet。然后上传到手机
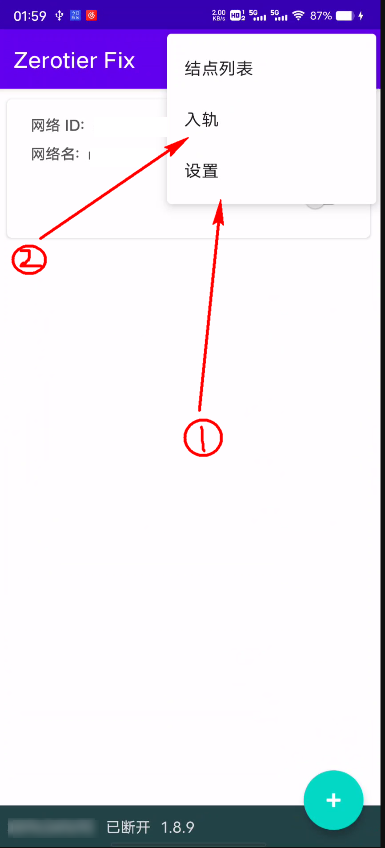
第一步,安装好Zerotier FIX,打开软件——右上角——设置——启动自定义planet——选择从文件导入——选择刚才的palnet文件。提示导入成功既切换planet成功。
第二步,加入moon服务器,打开软件——右上角——入轨——右下角加号——从文件导入——选择刚才的moon文件。提示成功,会在入轨界面看到moon服务的id。
只有完成上面这两步,才能在ztncui管理的网络界面点刷新看到手机的ID,然后在ztncui上授权加入
Windows的client端
ZeroTier官网下载windows的ZeroTier One客户端
下载的zerotier是msi文件,默认会安装到C盘,安装完后会自动运行,在任务栏里会看到zerotier的UI界面,可以把它关掉退出
安装完后在我的电脑打开C盘,点击查看,把隐藏的项目打勾
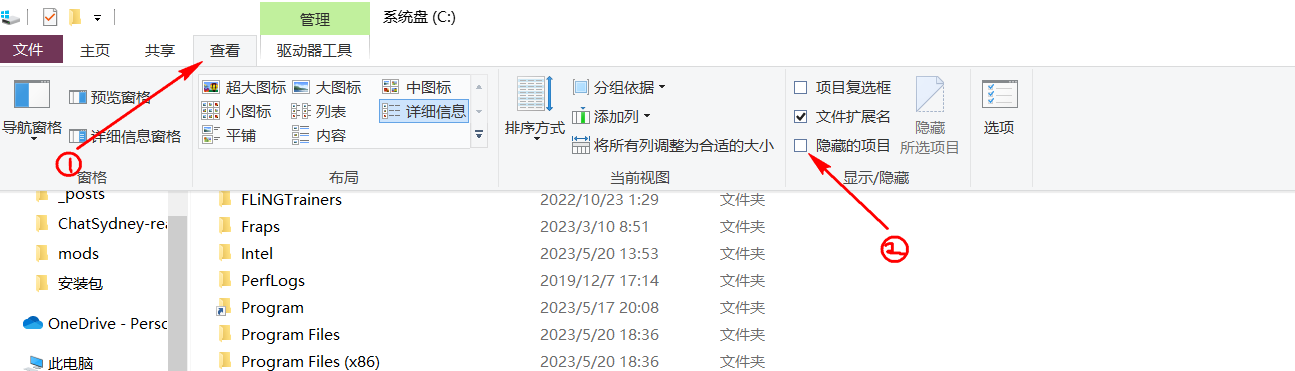
打开路径C:\ProgramData\ZeroTier\One,直接把之前备份的moons.d整个目录复制一份进去(目录里面有个000000XXXXX.moon文件)
在任务栏的搜索框输入cmd,会搜索到命令提示符,鼠标右键以管理员身份运行
弹出的命令框输入下面的命令进入ZeroTier的目录
1 | CD C:\ProgramData\ZeroTier\One\ |
查看命令帮助
1 | zerotier-one_x64.exe -h |
可以看到加了-q参数就可以跟linux端一样操作了
1 | ZeroTier One version 1.10.6 |
加入网络
1 | #加入在ztncui上的网络 |
列出网络
1 | zerotier-one_x64.exe -q listnetworks |
重启 ZeroTier
按“WIN+R”键,打开运行窗口;2 输入”services.msc”,回车,运行的服务中找到ZeroTier one,选中点击右键,选择重新启动。
查看moon服务器
1 | zerotier-one_x64.exe -q listpeers |
列出的moon节点出现自己配置的公网IP则moon服务器已配置成功
安全问题
进入ztncui控制面板需要通过访问公网服务器的3000端口来管理网络,所以要一直开着公网服务器的3000端口,很不安全,我们可以把节点控制器也加入到网络中,加入后就可以通过zerotier分配的IP来访问ztncui控制面板。
加入方法和linux client端加入网络类似
ssh连接到公网服务器
加入网络
1 | #加入在ztncui上创建网络的ID |
授权加入网络

授权后点刷新,网络就会给控制器分配IP了
这样配置完成后我们就可以在其它授权设备上访问http://控制器IP:3000来登录控制面板了,访问成功后就可以去公网服务器的安全组把放行的3000端口关掉了